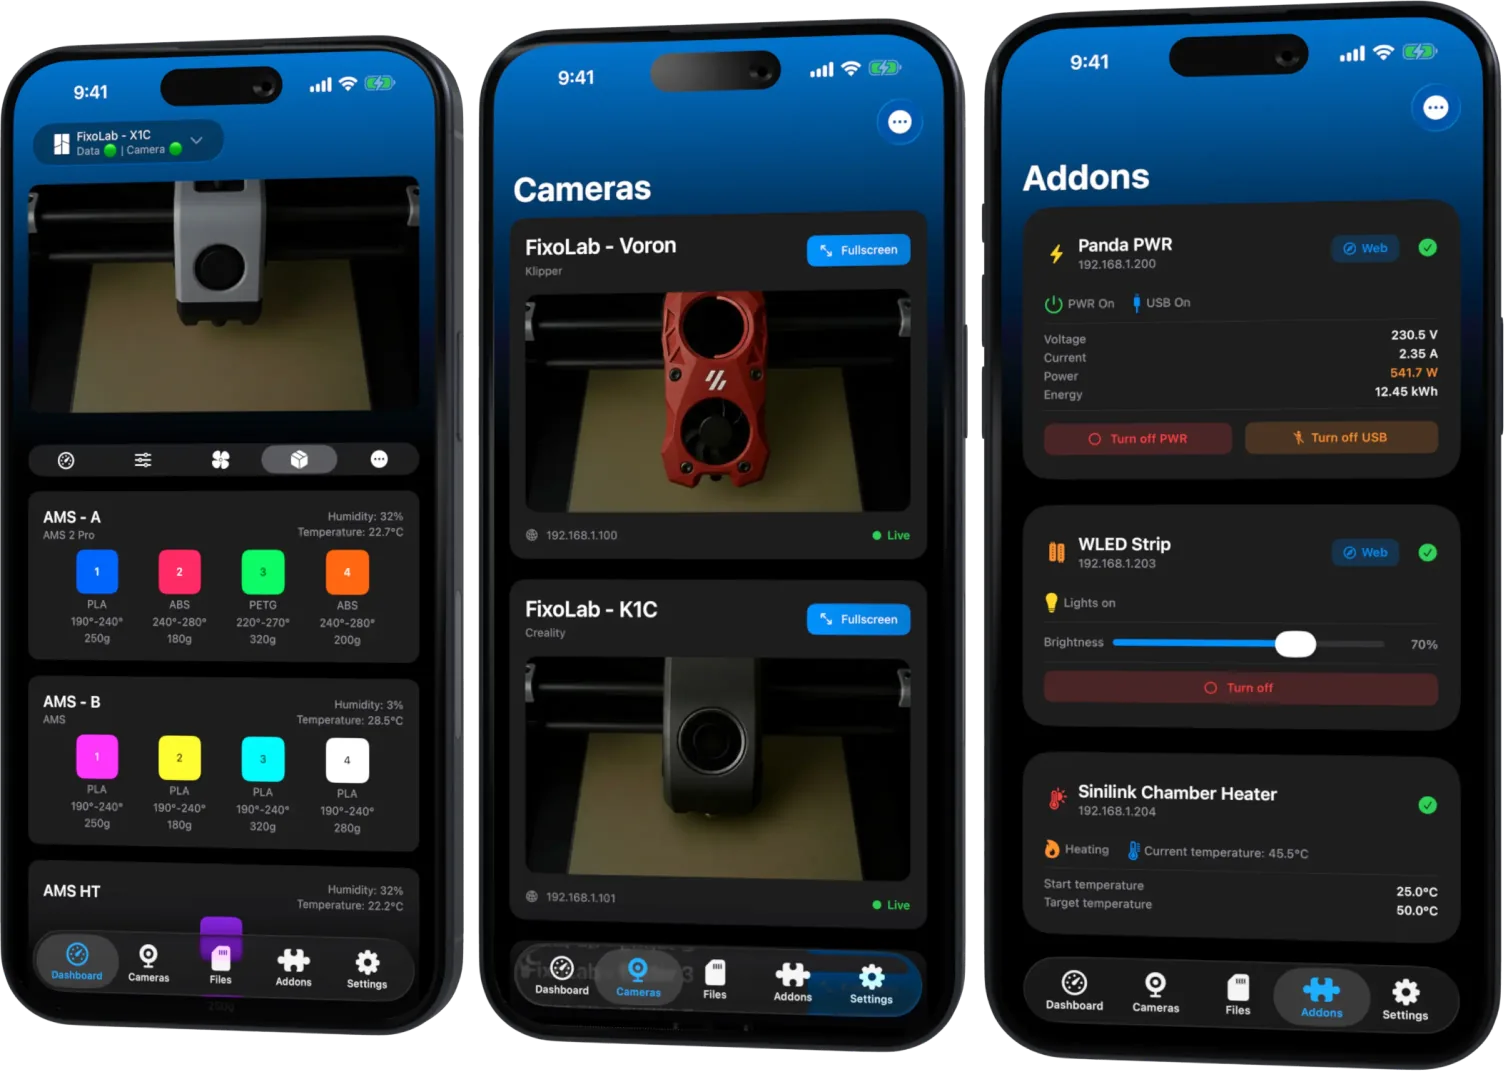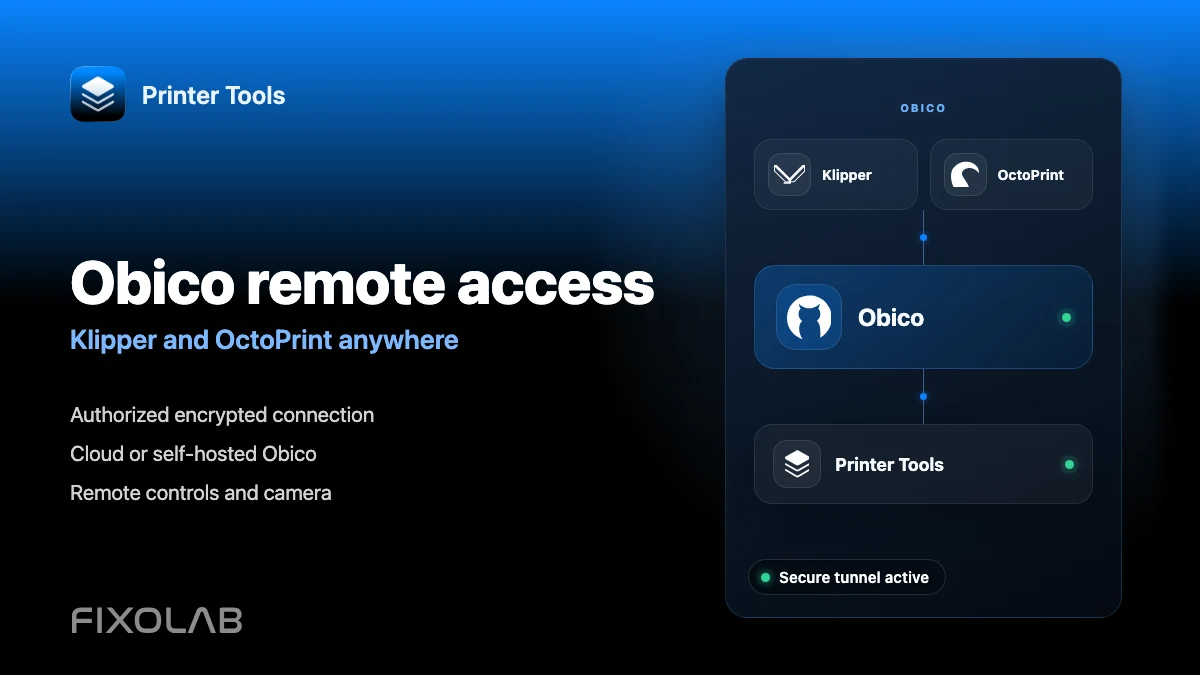
How to connect Obico to Printer Tools for remote Klipper and OctoPrint access
Obico remote access
The short answer
Printer Tools can add an existing Obico printer as a remote Klipper or OctoPrint connection on Android, iPhone, iPad and Mac. Sign in to Obico, authorize Printer Tools and select the printer. Klipper completes without a manual API key, while OctoPrint asks for its API key after the tunnel is created. Monitoring, controls and the Obico camera then remain available away from your local network.
What you need
- An Obico Cloud account or a reachable self-hosted Obico server
- Obico for Klipper or Obico for OctoPrint already installed and linked to that server
- The printer shown as online in Obico before starting
- Printer Tools installed on Android, iPhone, iPad or Mac
- The OctoPrint API key when adding an OctoPrint printer
- A working webcam in Obico if you want remote camera viewing
Connect Obico to Printer Tools
- 1
Confirm the printer is online in Obico
Open Obico and verify that the correct Klipper or OctoPrint printer is connected. Resolve an offline Obico agent before adding it to Printer Tools.
- 2
Choose the Obico connection type
In Printer Tools, open Settings and Printers, find the Obico section and choose whether you are adding Klipper or OctoPrint. This filters the printers and selects the correct protocol after authorization.
- 3
Select Obico Cloud or your own server
Use Obico Cloud for the managed service. If you run a self-hosted server, enter its address and make sure it is reachable from the device that is completing the sign-in flow.
- 4
Sign in and authorize Printer Tools
Complete the Obico authorization screen and approve the tunnel connection. Select the printer you want to add when your account contains more than one compatible printer.
- 5
Complete the protocol-specific step
Klipper is saved after Obico returns its Moonraker tunnel. For OctoPrint, paste the API key requested by Printer Tools and save it to complete OctoPrint authentication.
- 6
Test telemetry, controls and camera
Open the new Obico printer from the Dashboard. Check status and temperatures, test a safe print action and open the camera. Current Obico connections use the live Janus WebRTC stream when available and fall back to snapshots when needed.
Obico camera access in Printer Tools
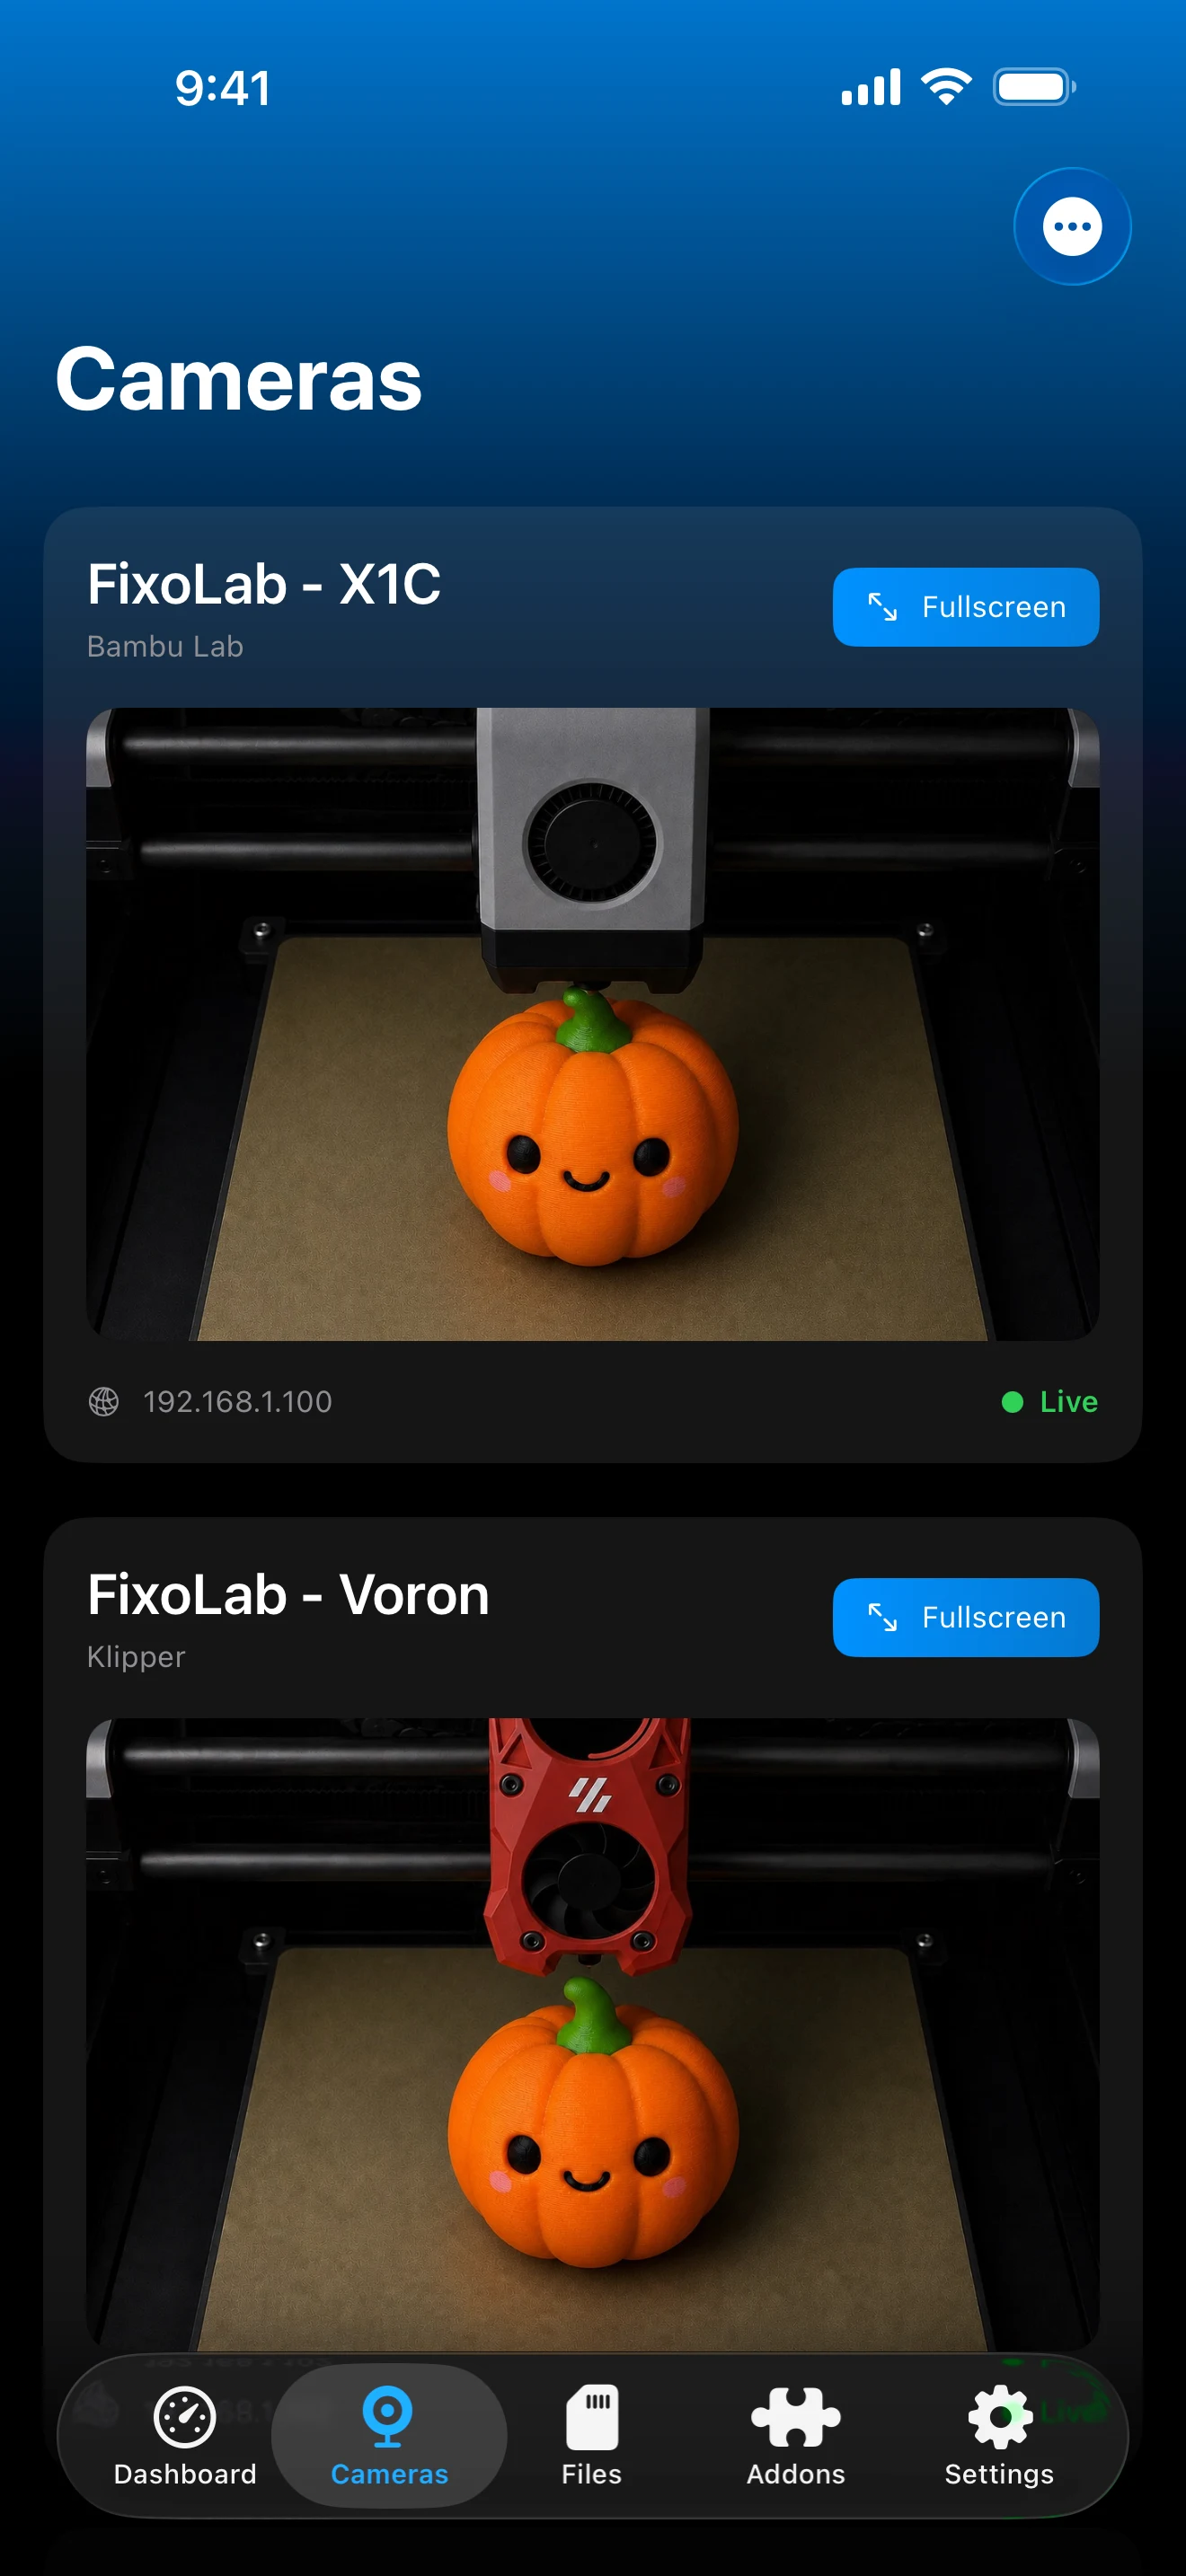
The Obico connection appears with the other printers in Printer Tools and uses the camera information returned during authorization. Live WebRTC is preferred, with snapshot fallback for compatible legacy or self-hosted setups.
What the Obico connection provides
- Remote print state, progress and temperatures for Klipper or OctoPrint
- Pause, resume and stop through the authenticated Obico tunnel
- Janus WebRTC camera playback with a compatible snapshot fallback
- Obico Cloud and self-hosted server selection during setup
- Multiple Obico printers alongside local and OctoEverywhere connections
- The existing Obico failure detection and notification workflow remains managed by Obico
Current limitations
- The printer must already be installed, linked and online in Obico
- OctoPrint requires a manual API key after Obico authorization, while Klipper does not
- File browsing is not currently exposed through the Obico connection in Printer Tools
- Camera quality and availability depend on the webcam and stream mode reported by Obico
- Cloud plans, tunnel usage limits and self-hosted server availability remain Obico responsibilities
Obico connection troubleshooting
No compatible printer appears after sign-in
Confirm that the Obico agent matches the type selected in Printer Tools. A Moonraker Obico agent appears under Klipper, while an OctoPrint Obico plugin appears under OctoPrint.
The tunnel is authorized but the printer stays offline
Open Obico and check the agent connection first. Restart the Obico agent or plugin and verify that the printer host can reach the configured Obico server.
OctoPrint returns an authorization error
Generate or copy a current OctoPrint API key and enter it in the final Printer Tools step. Reauthorizing the Obico tunnel does not replace that API key.
Klipper asks for an API key
Restart the setup and select Klipper in the Obico section. The current Klipper flow should complete through the Moonraker tunnel without the manual OctoPrint API key screen.
Telemetry works but the camera does not
Verify the webcam inside Obico and check that it is assigned as the primary camera. A live stream can fall back to snapshots, but Printer Tools cannot create a feed that Obico is not receiving.
Keep the local connection too
An Obico printer is a remote route, not a replacement for your direct local Klipper or OctoPrint entry. Keeping both lets Printer Tools use the local connection at home and the Obico connection away from it. Never add public router forwarding for Moonraker or OctoPrint just to make Obico work.
Frequently asked questions
Does Obico work with both Klipper and OctoPrint?
Yes. Select the matching type during setup so Printer Tools filters the Obico printers and uses Moonraker or OctoPrint correctly.
Why does only OctoPrint ask for an API key?
Obico supplies tunnel authentication for both systems, but OctoPrint still requires its own API authorization. The Klipper connection uses Moonraker through the authorized tunnel and normally needs no extra manual key.
Can I use a self-hosted Obico server?
Yes. Select the self-hosted option and enter the server address. Remote availability depends on how that server and its tunnel service are exposed and maintained.
Does the Obico camera work in Printer Tools?
Yes. Printer Tools uses Obico's live Janus WebRTC camera when the authorized printer reports one and can fall back to snapshots for compatible setups.
Can I remove my local printer after adding Obico?
You can, but keeping the local entry is useful for direct access, local files and features that are not exposed through the remote Obico route.
Related guides
See full Obico compatibility
Review the supported protocols, camera behavior, authentication differences and limitations before adding another remote printer.
All your 3D printers in one dashboard
Monitor Bambu Lab, Klipper, OctoPrint, Creality, Snapmaker, Anycubic, Flashforge, Elegoo, and Prusa printers from one app
Available on Android, iPhone, iPad and Mac, with Apple Watch and Wear OS companion apps plus optional remote access through VPN, OctoEverywhere or Obico