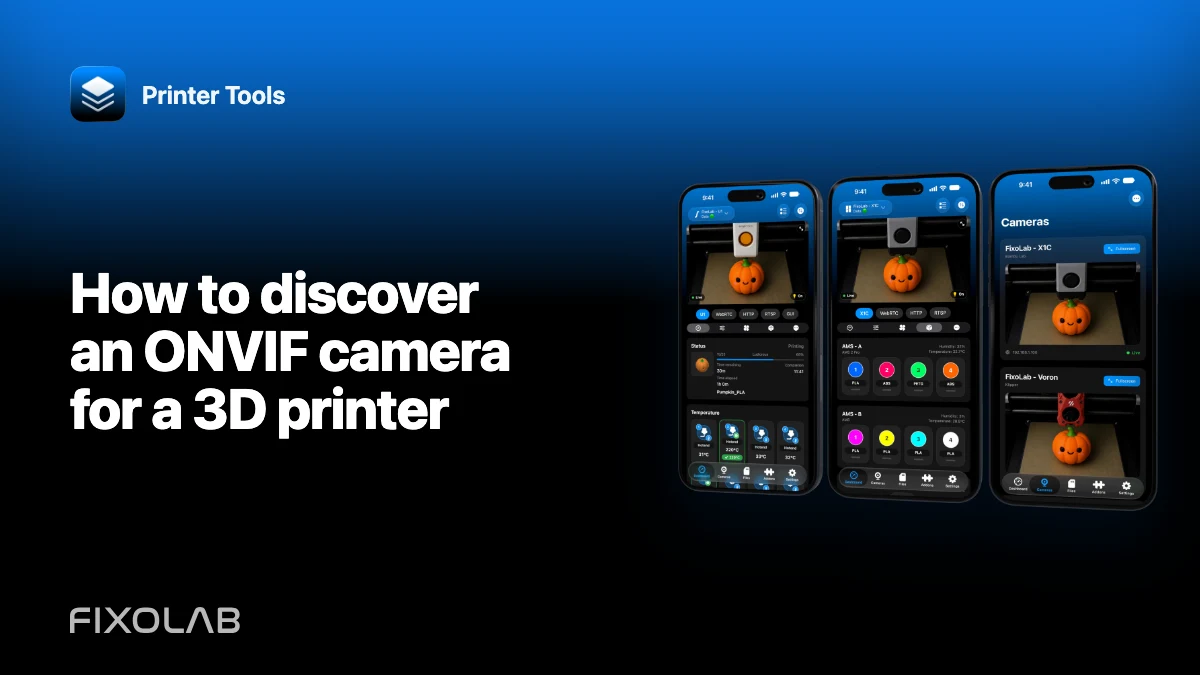
How to discover an ONVIF camera for a 3D printer
ONVIF discovery can save you from guessing an IP camera’s RTSP path. Printer Tools sends a discovery request on the local network, reads the devices that answer and uses the camera’s ONVIF services to obtain compatible media profiles.
This workflow is for a separate network camera pointed at a printer. It does not replace the native camera already attached to a supported Bambu Lab, Creality, Anycubic, FlashForge, Elegoo or Snapmaker printer.

All your 3D printers in one dashboard
Monitor Bambu Lab, Klipper, OctoPrint, Creality, Snapmaker, Anycubic, Flashforge, Elegoo, and Prusa printers from one app
Available on Android, iPhone, iPad and Mac, with Apple Watch and Wear OS companion apps plus optional remote access through VPN, OctoEverywhere or Obico
Put the camera on a reachable local network
Connect the camera and the device running Printer Tools to a LAN where discovery traffic is allowed. They can use different Wi-Fi bands, but guest isolation, separate VLANs or an access point that blocks multicast and device-to-device traffic can prevent discovery.
Confirm that the camera has finished starting and that its own local web page or manufacturer tool can see it.
Create a dedicated camera account
If the camera supports local users, create an account with only the permissions needed to read video. Do not reuse an administrator password that controls firmware, networking or cloud settings.
Choose a unique password and store it securely. ONVIF and RTSP credentials can be included in generated service URLs, so never publish the complete URL.
Run ONVIF discovery in Printer Tools
Open the external-camera setup and start ONVIF discovery. Wait for the scan to complete, then select the camera that matches the expected address and device information.
Discovery only finds cameras that answer the standard local probe. A camera can support RTSP but have ONVIF disabled, restricted to another interface or blocked by the network.
Choose a media profile
Many ONVIF cameras expose a main stream and one or more substreams. The main profile may offer the highest resolution but consume more bandwidth and decoding resources. A substream is often better for a small dashboard preview.
Start with a moderate H.264 profile when available. Verify that the selected stream opens reliably before increasing resolution or frame rate.
When discovery returns nothing
Check the camera settings for an ONVIF enable switch, local account requirement or service port. Temporarily place both devices on the main LAN and disable a phone VPN for the test. Do not disable the router firewall globally.
If manual access works across VLANs but discovery does not, the network may route unicast traffic while blocking the multicast probe. Add the camera manually with a known supported stream rather than weakening every network boundary.
Keep the camera private
Do not forward ONVIF, RTSP or the camera web interface from the public internet. Use a VPN for remote access and keep camera firmware current. Disable manufacturer cloud access if you do not use it and the device supports a local-only configuration.
For manual setup, continue with how to build and test an RTSP camera URL safely.
Frequently asked questions
Is ONVIF a video format?
No. It is a device and service standard that can describe media profiles and return a stream URI, often RTSP.
Why does the camera website work but discovery fail?
Unicast web traffic can cross a network path that blocks the multicast discovery probe.
Should I choose the highest-resolution profile?
Not automatically. A lower substream can be more stable and sufficient for monitoring.
Can I discover a printer’s built-in camera this way?
Use the native printer integration for supported built-in cameras. ONVIF is intended for a separate compatible IP camera.
Official sources: ONVIF — Profile S
All your 3D printers in one dashboard
Monitor Bambu Lab, Klipper, OctoPrint, Creality, Snapmaker, Anycubic, Flashforge, Elegoo, and Prusa printers from one app
Available on Android, iPhone, iPad and Mac, with Apple Watch and Wear OS companion apps plus optional remote access through VPN, OctoEverywhere or Obico
| FixoLab
How to add an external IP camera to a 3D printer in Printer Tools
Add an independent IP camera to Printer Tools over HTTP, MJPEG, RTSP, RTSPS, TCP JPEG, WebRTC or ONVIF discovery.
| FixoLab
Fix camera stream dropouts (Troubleshoot buffering and disconnects)
Open the stream URL in a browser first. Check proxy, path and local network access. Status can work even when video does not.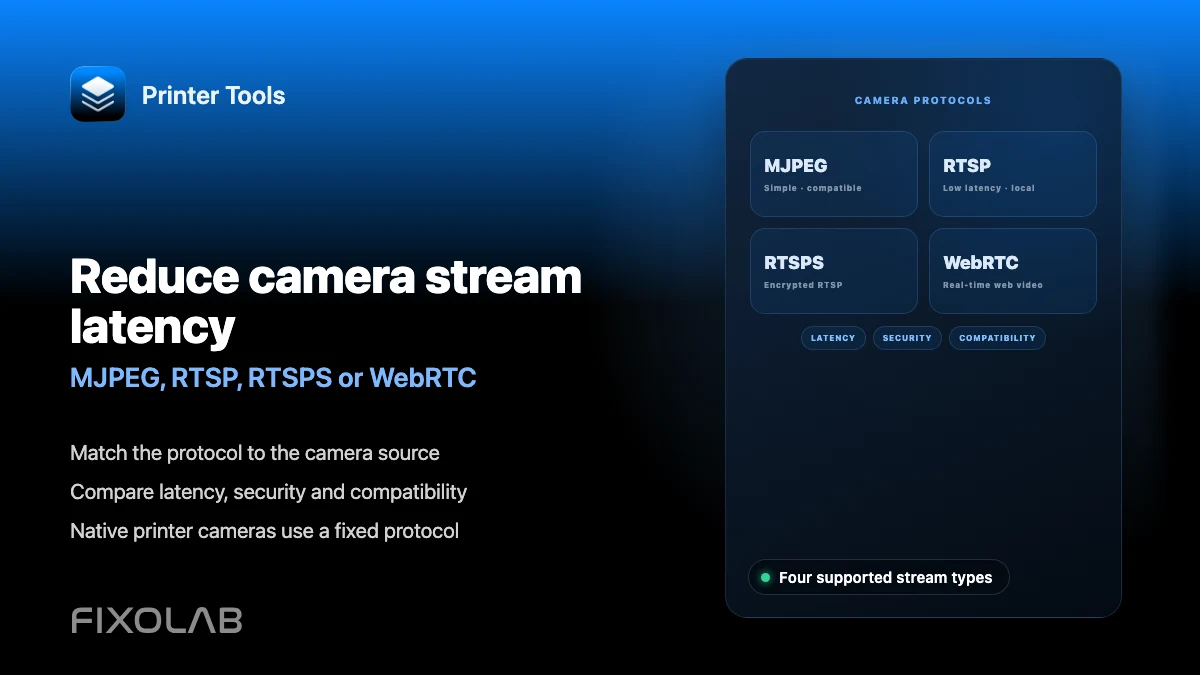
| FixoLab
Reduce camera stream latency (MJPEG, RTSP, RTSPS or WebRTC)
Match the protocol to the camera source. Compare latency, security and compatibility. Native printer cameras use a fixed protocol.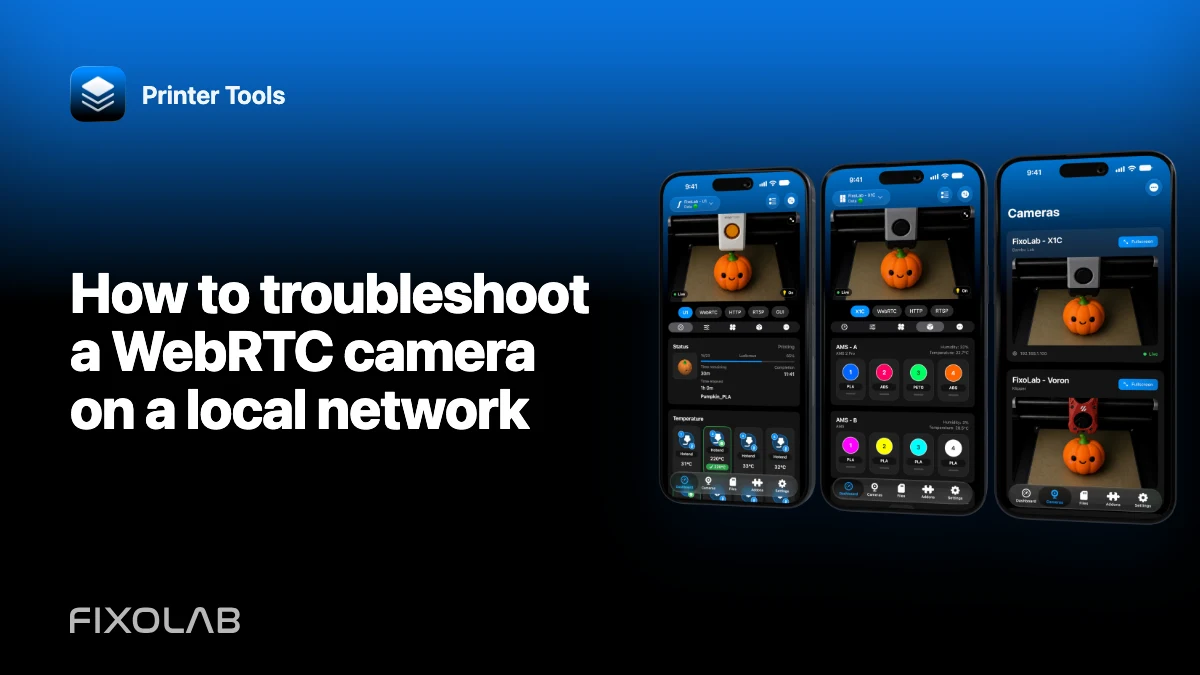
| FixoLab
How to troubleshoot a WebRTC camera on a local network
Diagnose signaling, ICE negotiation, native decoding and network policy when a WebRTC printer camera fails in Printer Tools.